Help Center / Smarter Voice / Numbers / Change number settings
Numbers
Change number settings in Business Phone
With phone numbers, you have a few options to adjust how calls can operate, both when calling in to, and out from, a given number.
On this page
Overview
Caller-ID Name for calling outbound
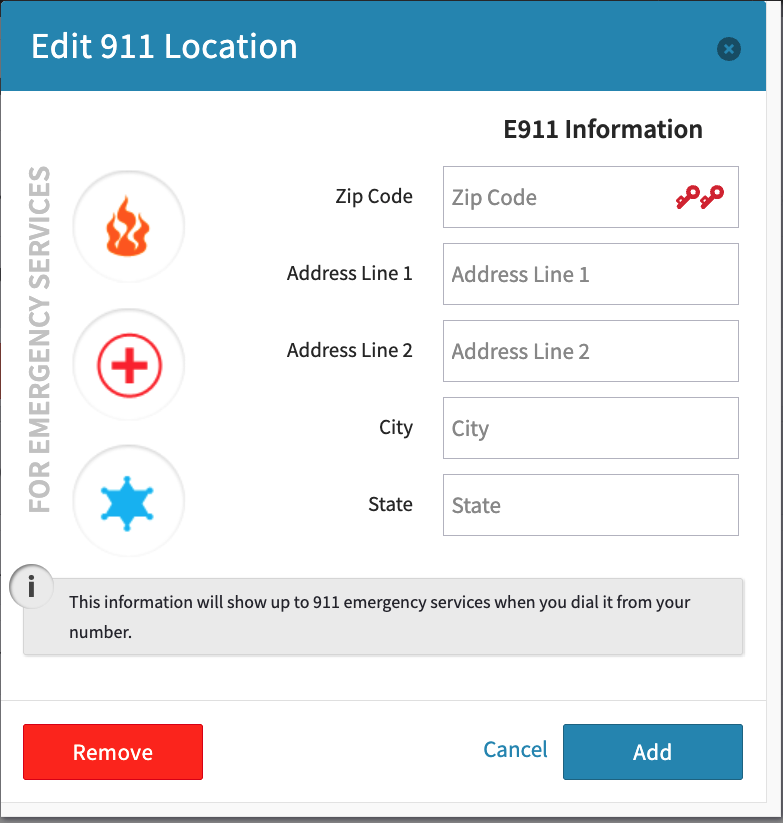
e911 - Any device with this caller ID that dials 911 will alert the emergency services to this address when dialing 911 from it
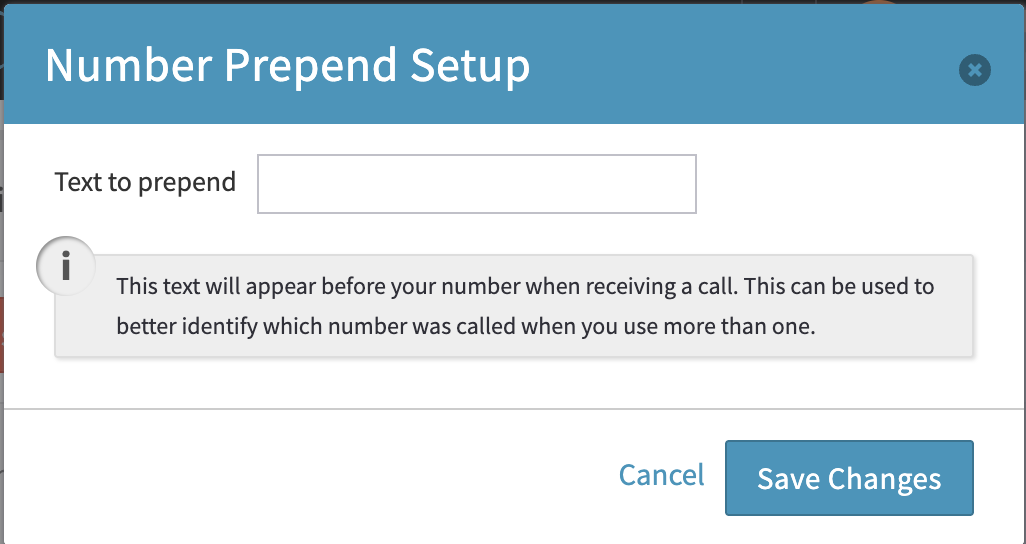
Prepend - Manipulate incoming caller ID to your VoIP devices to know which number on your account a customer dialed
Reviewing Number Settings
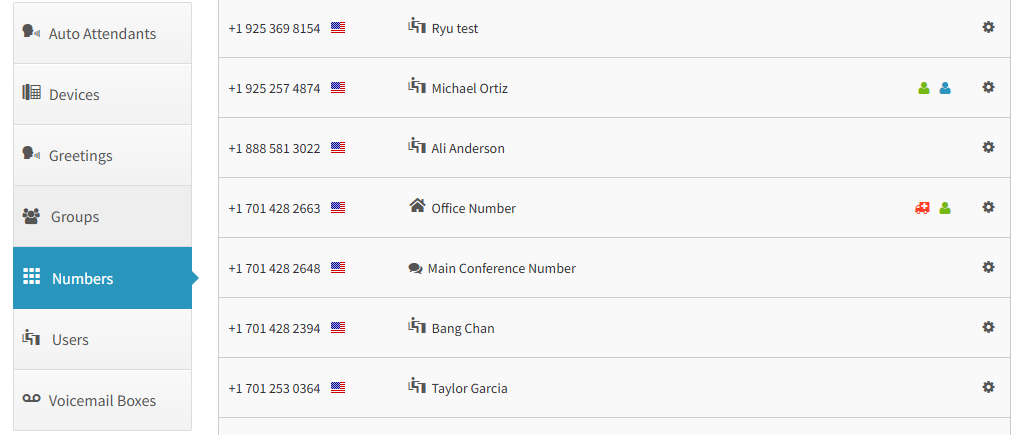
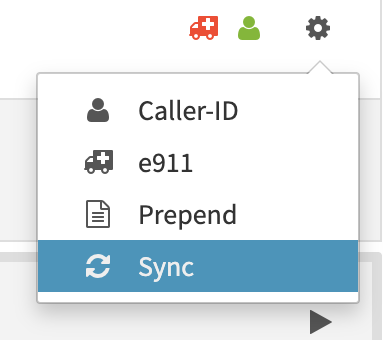
For a full list of your numbers, you can click “Numbers” on the left-side menu and view all of your numbers together, regardless of their location on your system. You can click the settings (Cogwheel) on the right to edit settings for a given number.
In many areas of the system where you can add phone numbers (Main number, Auto Attendants, Users, Groups, etc) you will see the setting icon to change the options listed in this document.
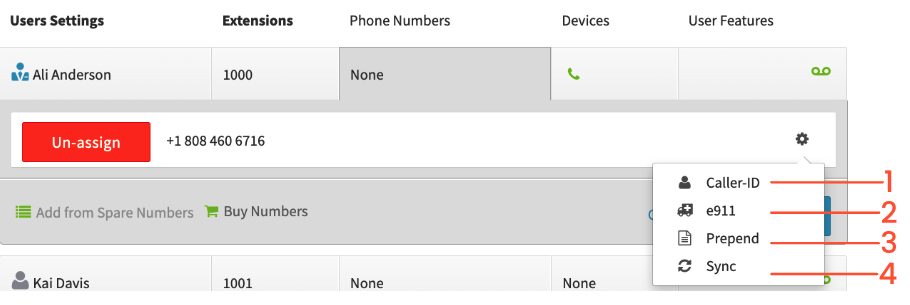
1. Caller-ID
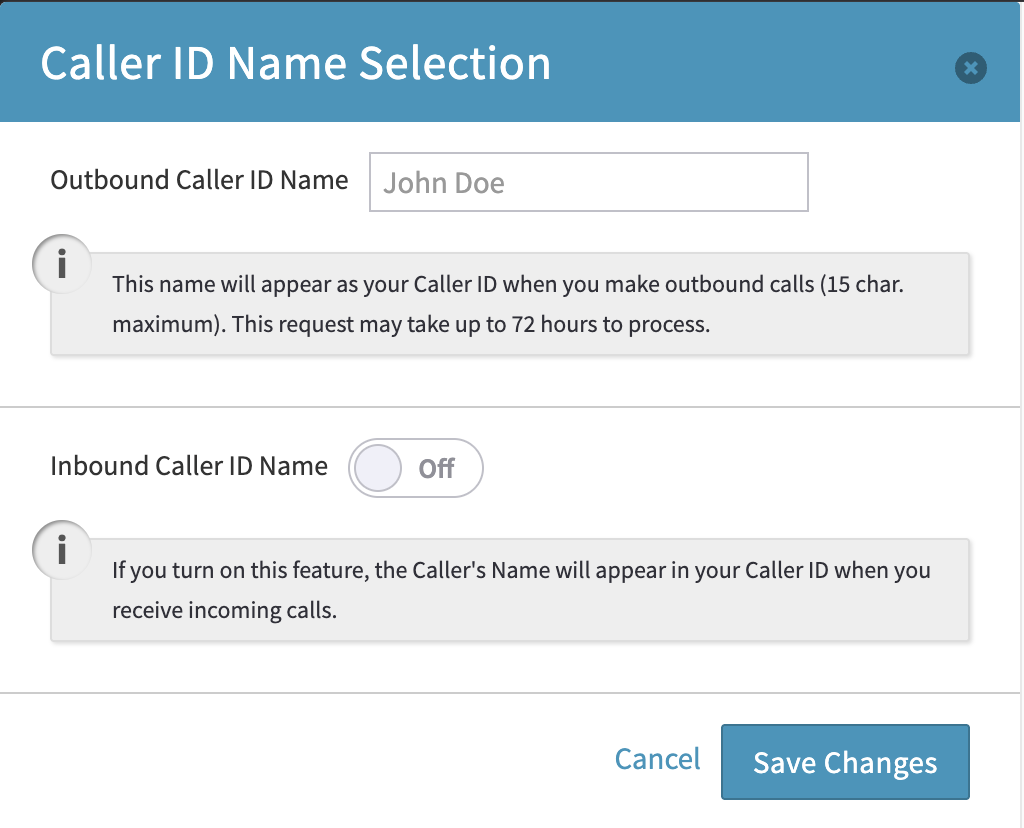
Your Caller ID Name can appear when making outbound calls, and has a maximum character limit of 15. You can also turn on the Inbound Caller ID to allow you to see what a caller dialing in to speak with you has set as theirs
Please note that caller ID name (CNAM) is a best effort feature. Databases for CNAM are not usually shared amongst different carriers, although there are steps our support team can take in order to help improve it’s accuracy. Reach out to us at experience@virtualpbx.com or calling +1 (888) 825-0800 once completing the above steps for additional support.
2. e911
Complete this section that will appear for the 911 emergency services, in case you need to dial it from your device. This will alert the authorities to this number’s location when called from any of your VirtualPBX VoIP devices.
3. Prepend
Help your Users identify which number the caller has dialed when answering from one of the VoIP devices. This info, which can include departmental identifiers (Sales, Team A, etc.), displays at the beginning of the caller’s ID when the delivered to the Softphone, Web Phone or desk phone.
4. Sync
In the extremely rare case Dash displays your numbers incorrectly, we’ll use this step to troubleshoot the inaccuracy. This will help align your number with your account.
Deleting a Number
When a number is no longer necessary, you can Un-assign it to move it to your Spare Numbers. You’ll find a red un-assign button wherever it’s located (Main Number, User, Group, etc). At this point, it’s not yet fully deleted and can still affecting your pricing.
To follow through on fully deleting, head to the Numbers tab on the left-side menu and click Spare Numbers at the top to display the un-assigned number.
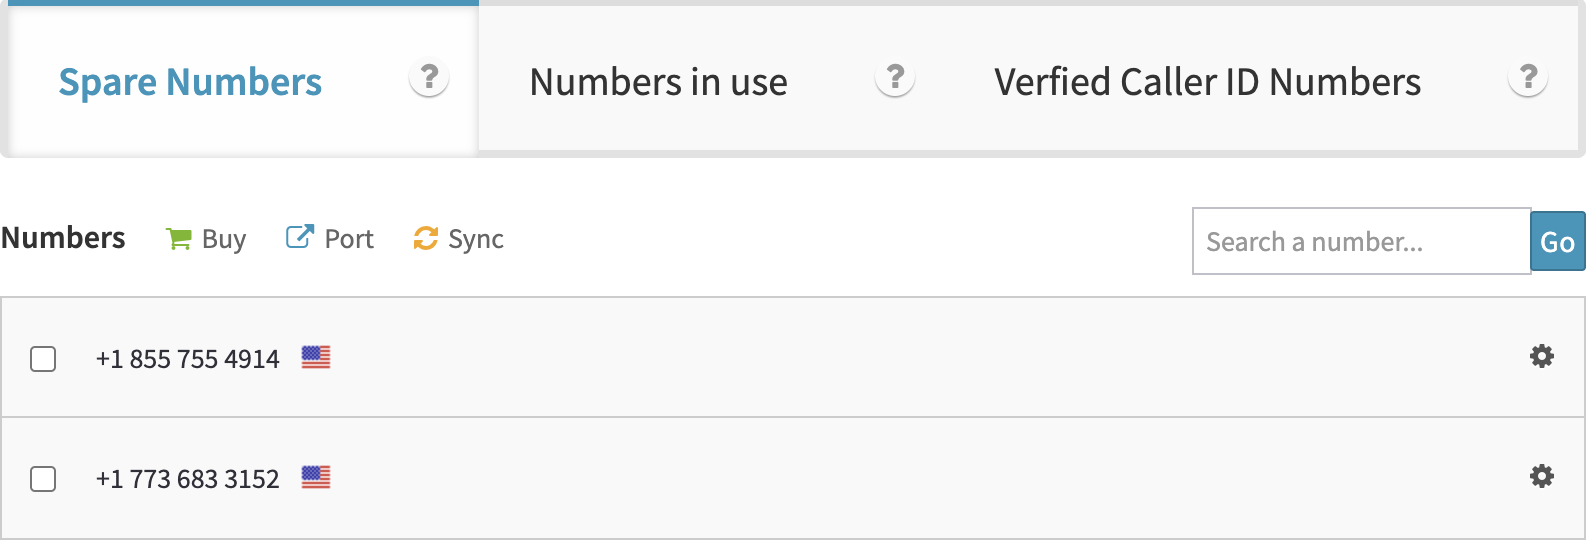
To fully remove the number from the Dash account, click the box next to the phone number, which will reveal the option to Delete in the section above.
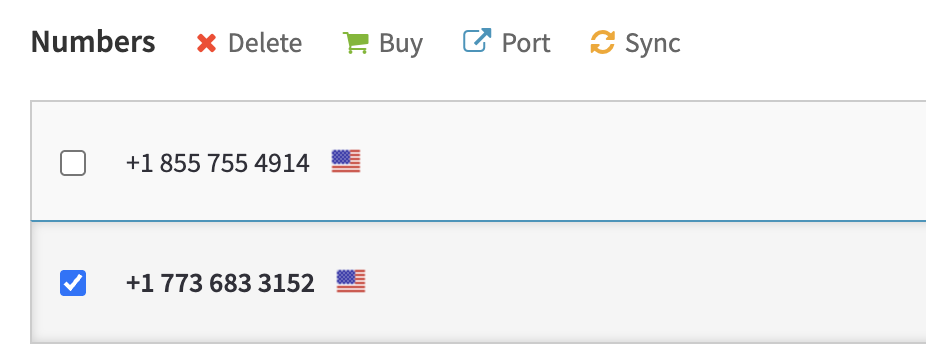
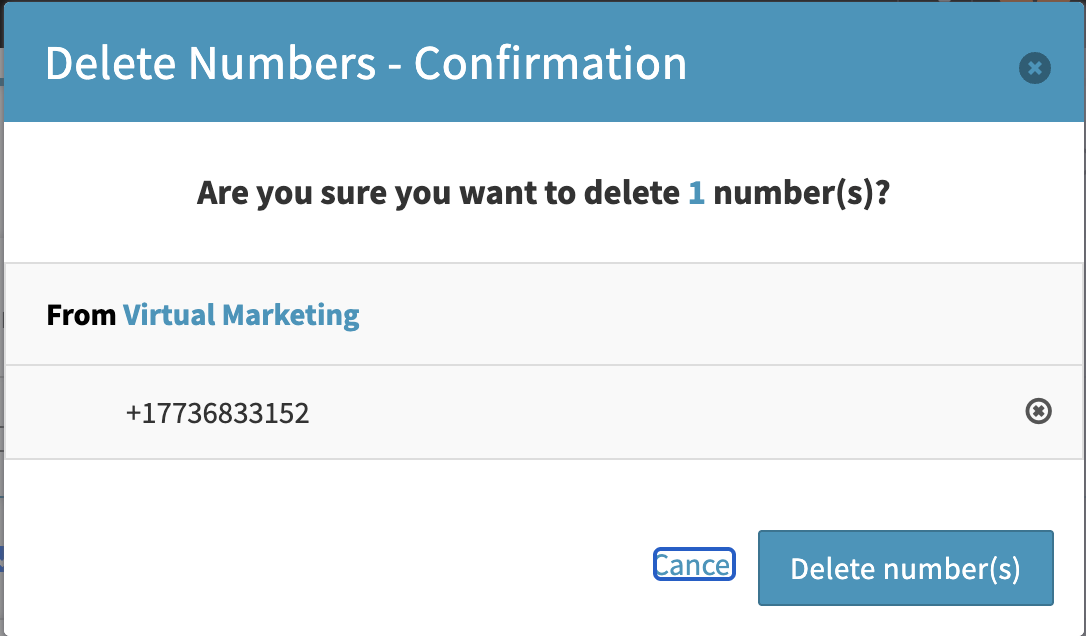
Then, click “Delete number(s)”, and the number will no longer be available on the account.