

Help Center / VirtualText / Messaging / Use the inbox
Messaging
Use the VirtualText inbox
These conversations are not being worked on by any team member currently. Conversations end up here after the AI Agent hands off the conversation to the team, or if a conversation comes back after already being archived. Click the arrow icon to view all conversations, or to hide them.
On this page
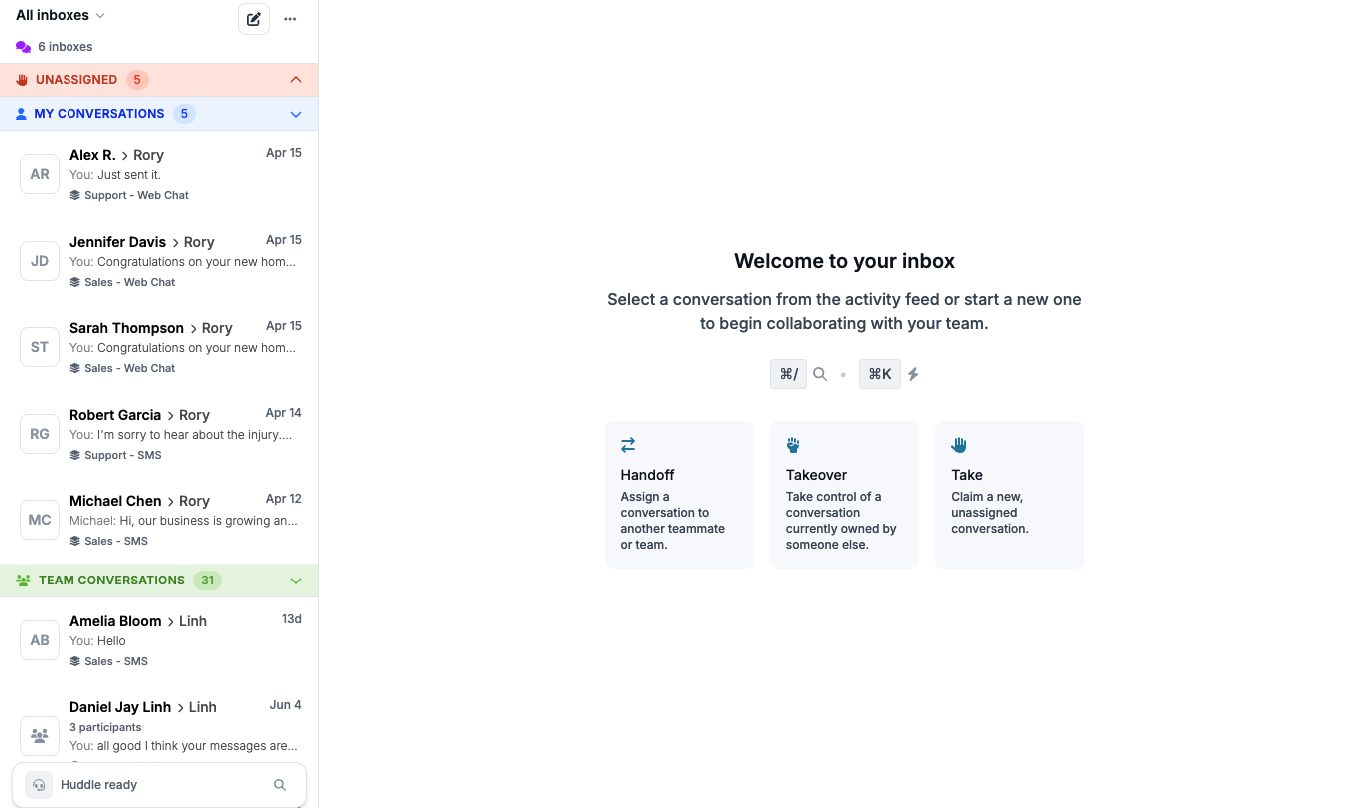
Types of Conversations
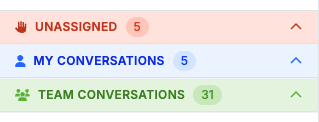
Unassigned
Options while Unassigned
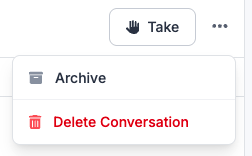
Take - Taking the conversation will change it from Unassigned to ending up in My Conversations
The three-line menu will allow you to either archive the conversation, or delete fully
My Conversations
If you have taken a conversation or been handed one by a team member, conversations will exist in this space. Click the arrow icon to view all conversations, or to hide them.
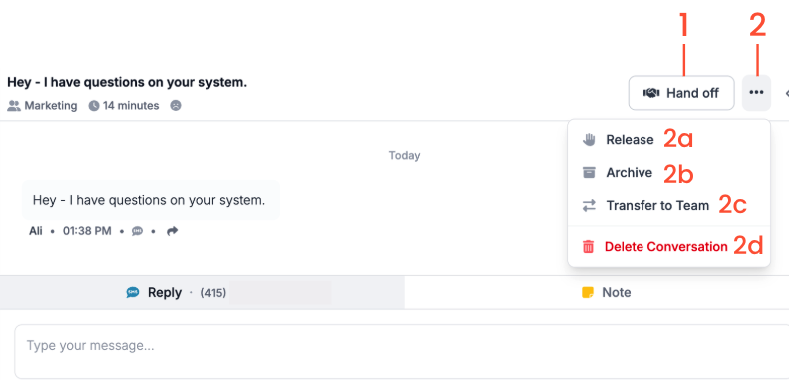
Options while assigned conversation
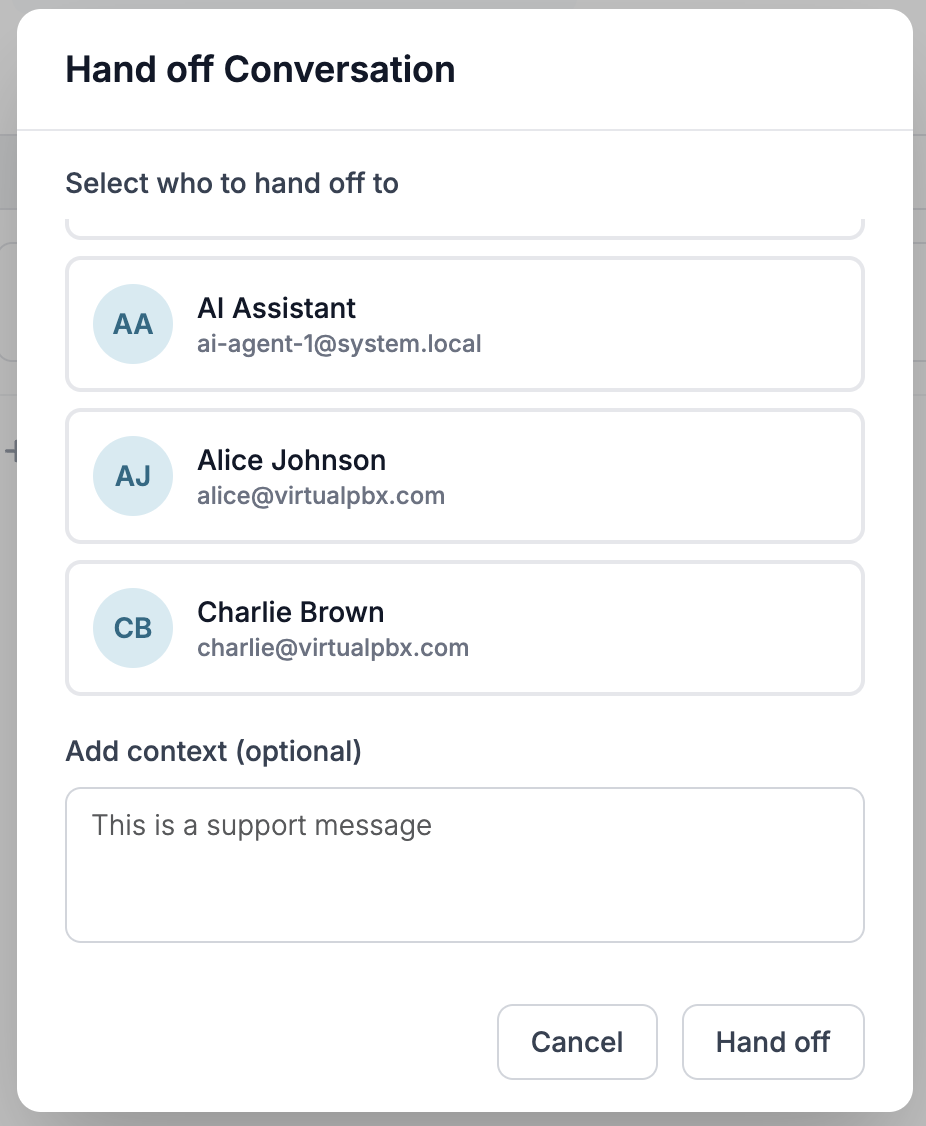
Hand off - hand off to a team member with any additional notes needed
Three-line menu
2a: Release - Releasing the conversation will move it back to ‘Unassigned’
2b: Archive - Archive the conversation once resolved
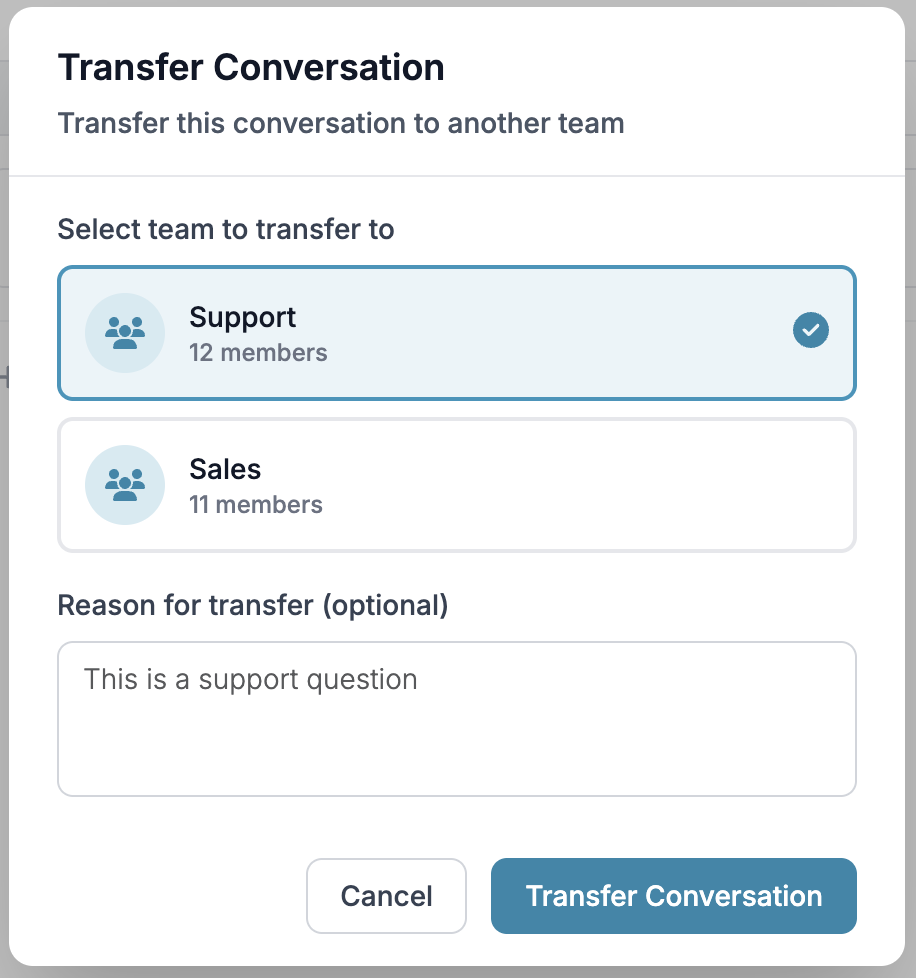
2c: Transfer to Team - transfer to the team the message is intended for with any additional context needed
2d: Delete Conversation
Team Conversations
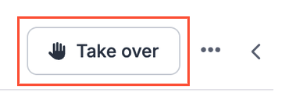
These are conversations owned by other agents on your team. The only option you will be able to utilize here are ‘Take Over’ to assign it to yourself -
And add a note. You can refer to information on adding notes through our information below. Click the arrow icon to view all conversations, or to hide them.
Options available on All Conversations
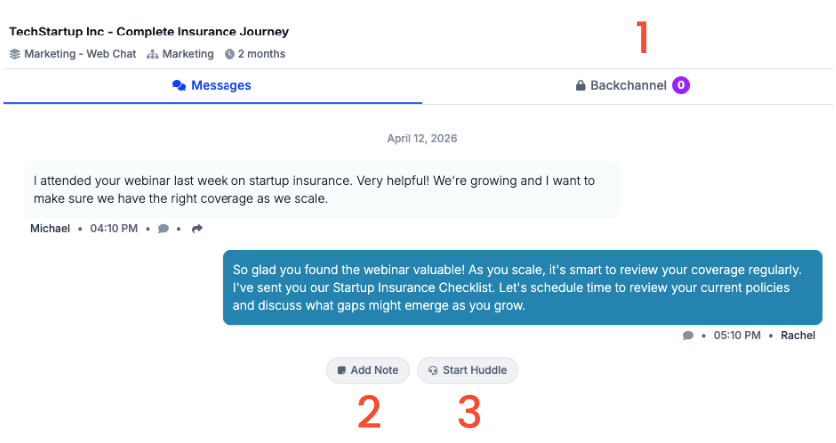
- Backchannel - Click here to view all internal conversations on this specific chat - you can be part of this conversation without owning the conversation
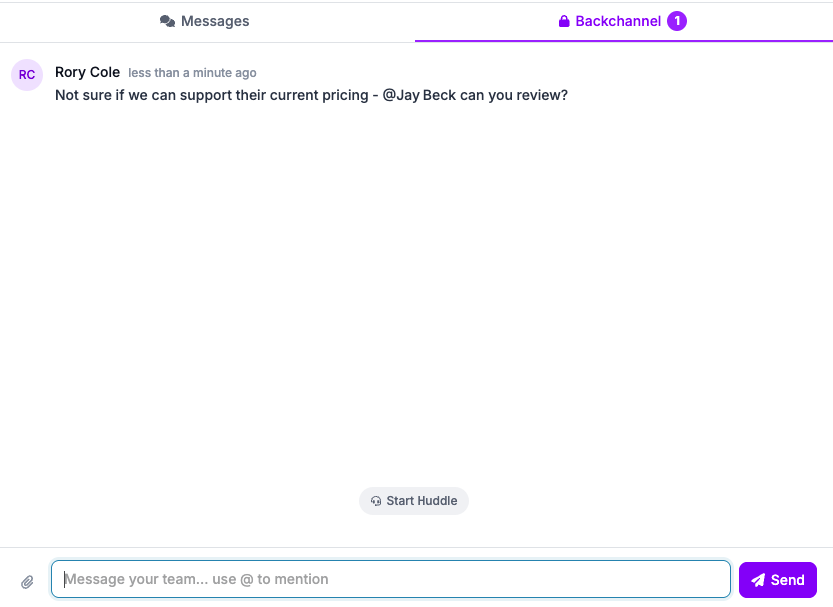
You can use all regular message options, including attaching files and pictures, sending messages, and you can also tag other team members for their review
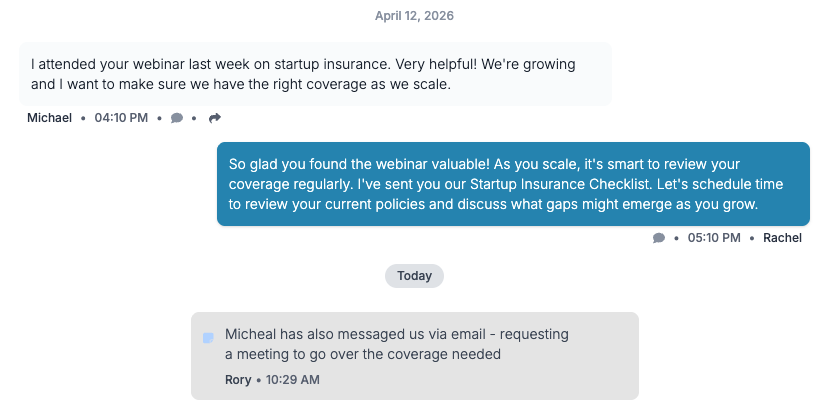
Add Note - Add a note on the customer facing side to provide extra context for your team on the current conversation
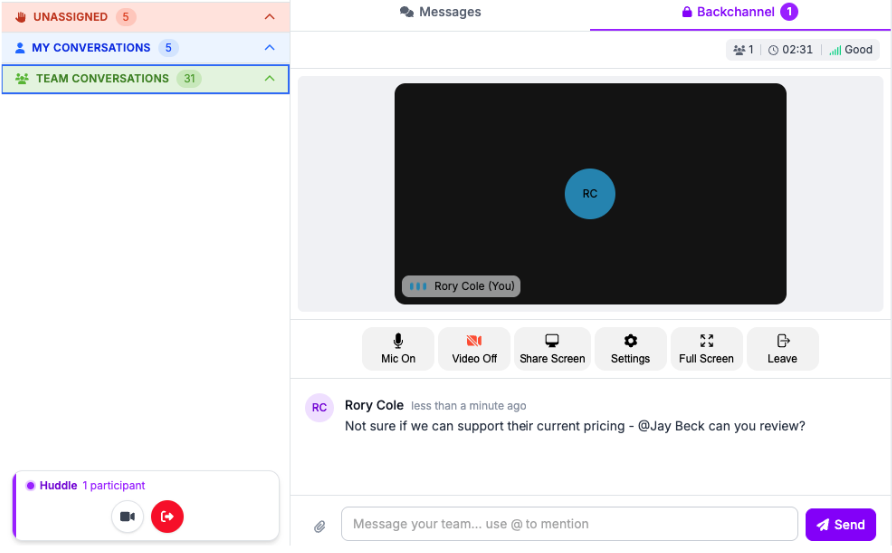
Start Huddle - Clicking ‘Start Huddle’ will create a meeting room in the Backchannel of the conversation you’ve chosen. You can choose to include your video and microphone, as well as Share Screen. You will also be able to utilize the Backchannel features including sending a message, and attaching files. The messages and files will still show after the Huddle has ended.
Options while Messaging
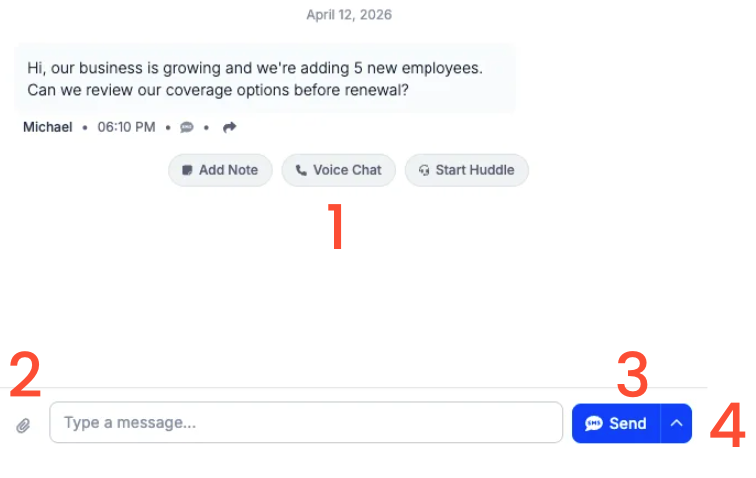
1. Voice Chat
If the customer is currently live on their chat, you can request to start a voice chat. This will operate the same as a phone call, however you will be able to do so without their phone number.
2. Attach
Click the paperclip icon to attach a file or picture
3. Send
After you have finished typing your message, you can click on ‘Send’ or hit enter to send your message
4. Schedule
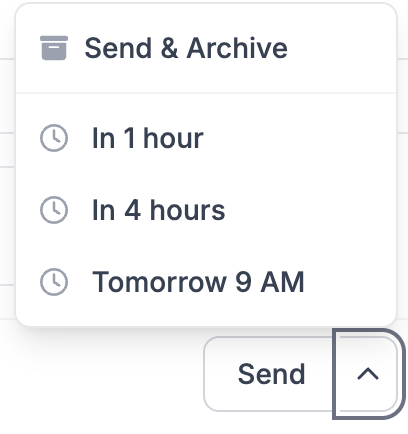
You can also schedule your message to go out later by clicking on the arrow, or archive immediately after sending
Customer Information on Conversations
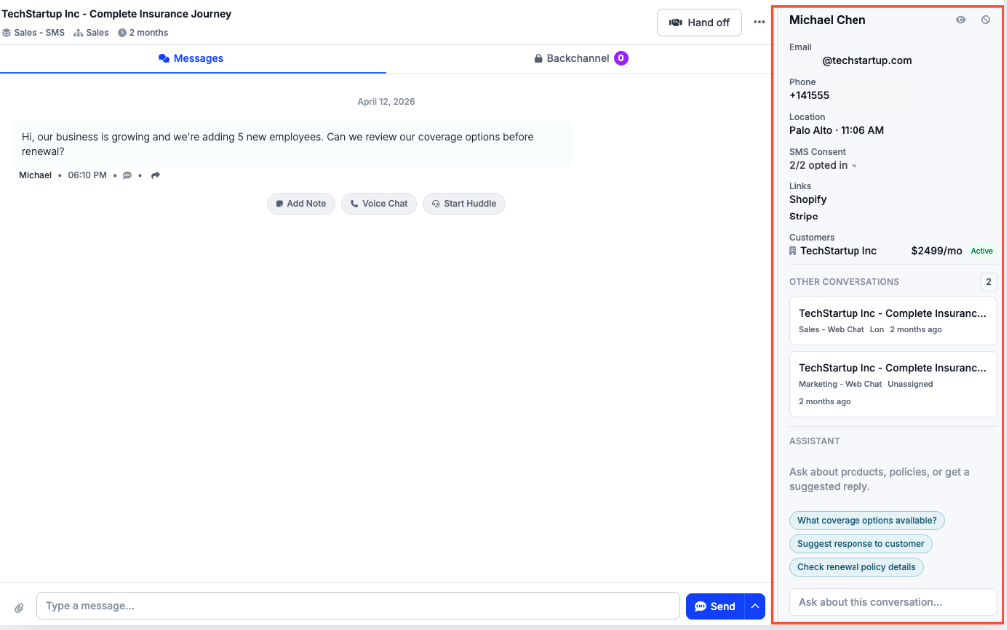
On the right side of your conversation you will the Contact’s name, number/email or both depending on how they opted in, if they have consented, and their customer name. You can also view other conversations they may have open, and ask your AI Assistant any questions you may have
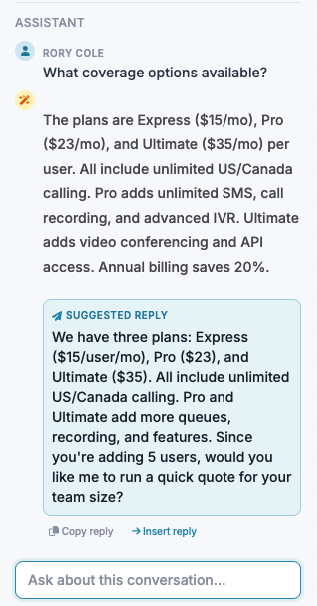
Once a question has been asked, you will see an answer directly from the Assistant, as well as a suggested reply for the conversation. You can either copy this reply, or insert it directly to your conversation.
Editing a Contact
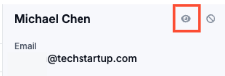
Click on the Eye icon to open the contact brief for this contact.
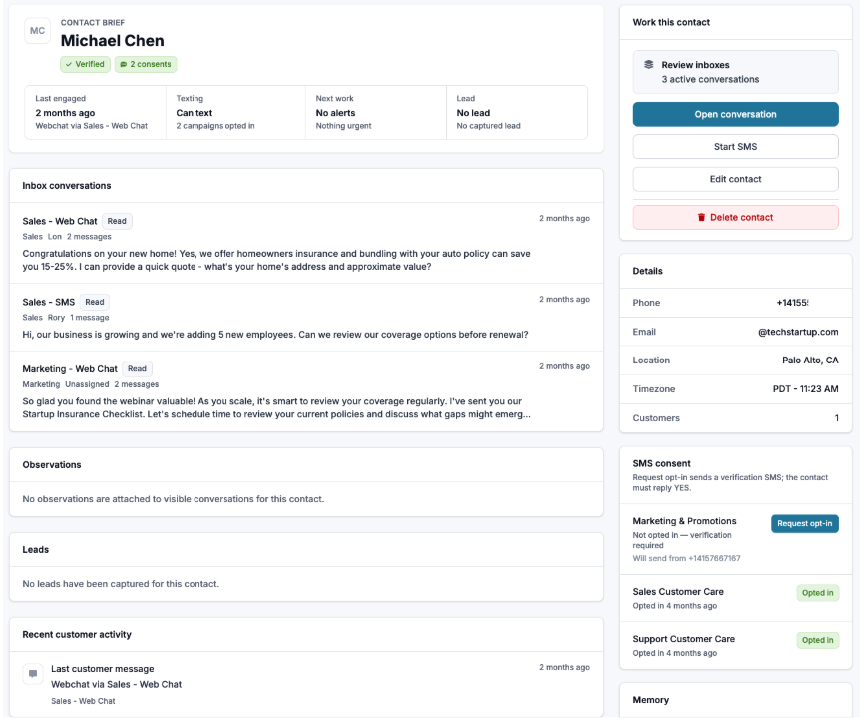
A myriad of information will appear, including past conversations, recent activity, and their personal details. Click on ‘Edit Contact’ to change their information.
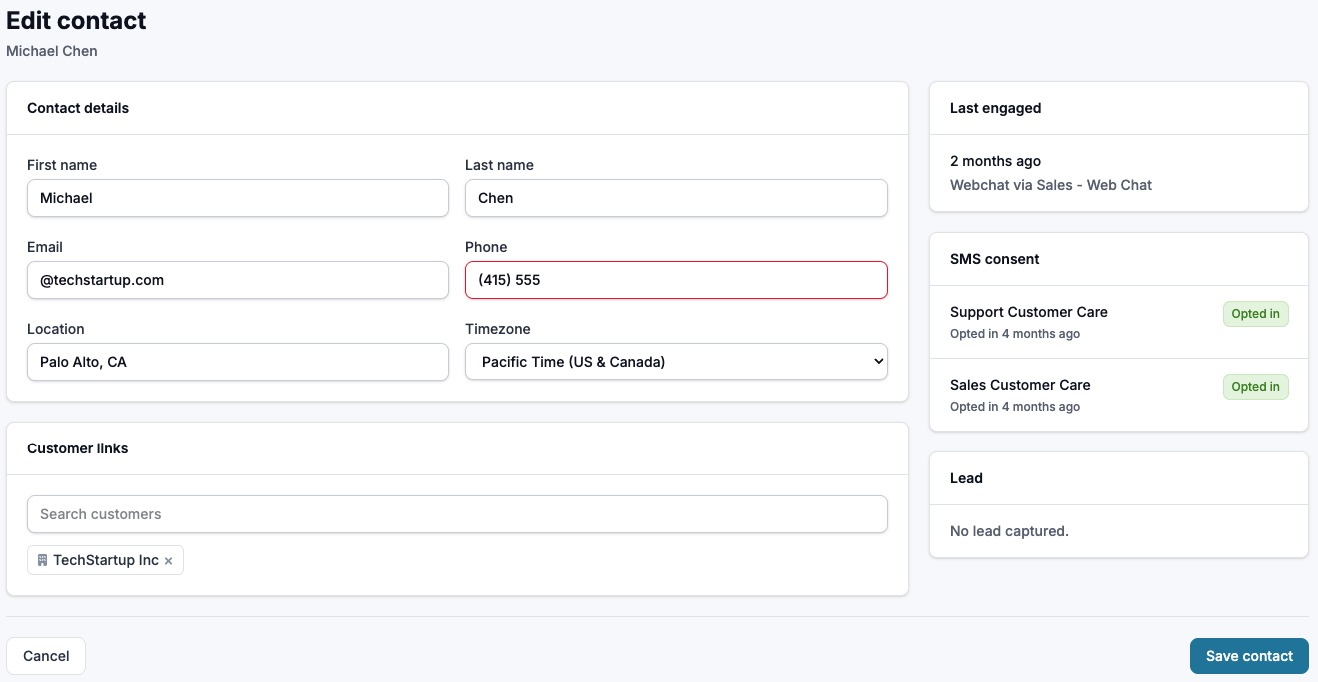
Make sure to click ‘Save Contact’ when updates have been made.
Other Options in Inbox

1. All Inboxes
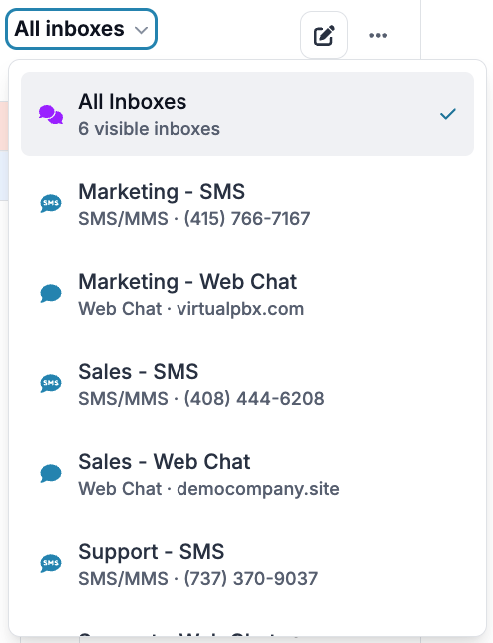
By default you will see all visible inboxes. Click the arrow to filter choose a specific inbox you would like to view (different teams, web chats, and SMS)
2. New Conversation
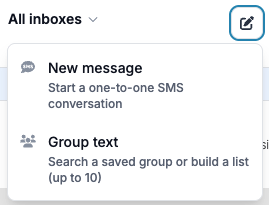
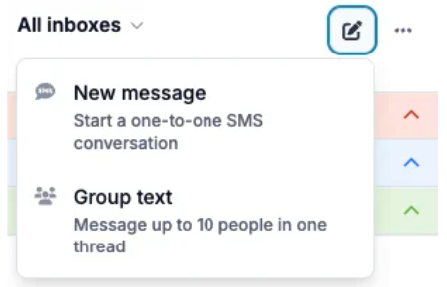
New Message - Start a one on one SMS conversation. (NOTE: You can not start a new web chat with someone as they will need to initiate contact first)
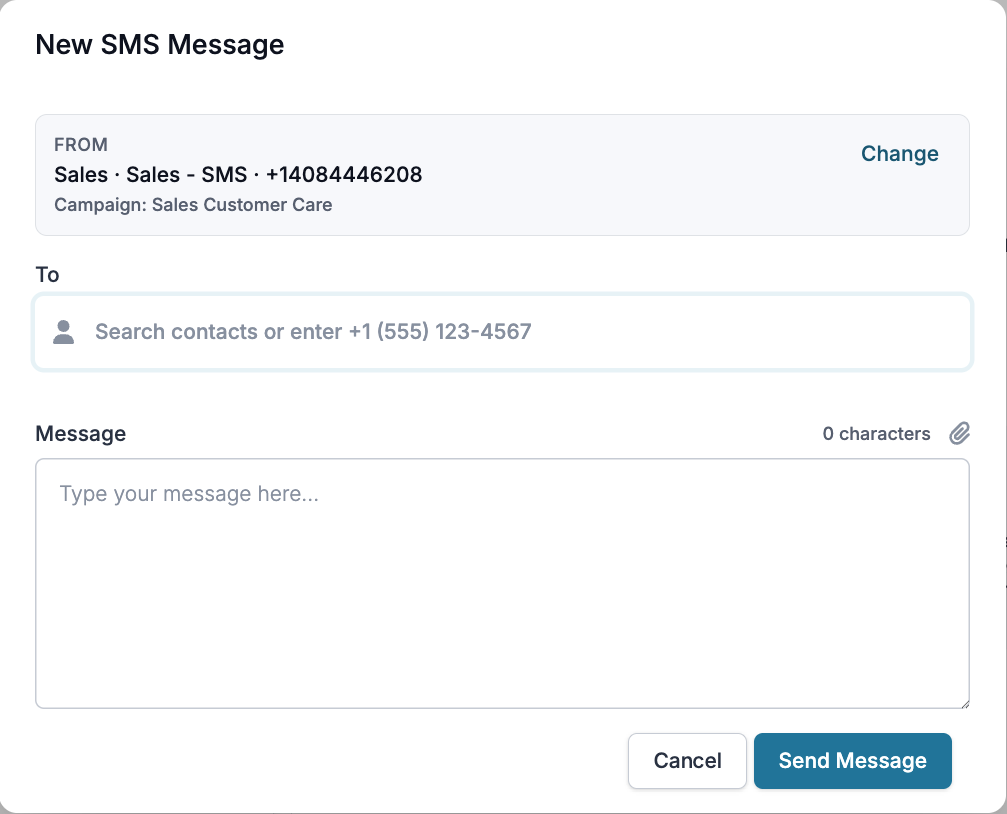
When starting a new conversation, you can choose to change the number you are sending from if you have multiple numbers on your account. From here, either search contacts, or type in a new number. After which, you can send a new message.
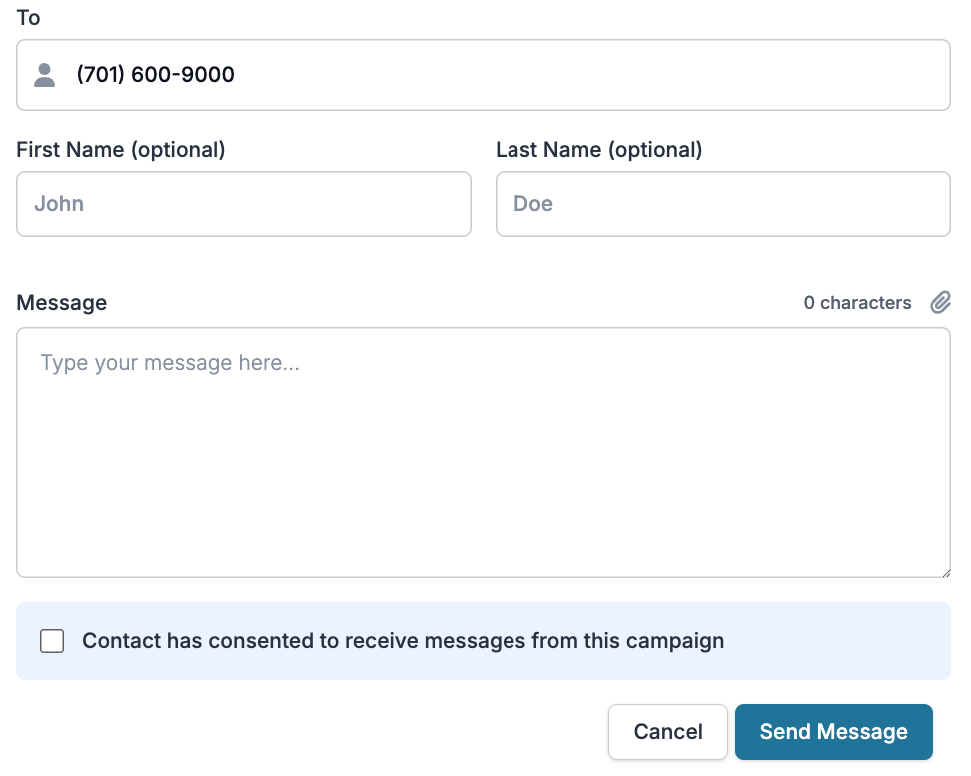
If this is the first time messaging this contact, you will be asked to give the contact a first and last name, and enter a message.
You will need to confirm the contact has consented to receive messages from this campaign to be able to send messages.
Group Text - Message up to 10 people in one thread
3. Teams/Archived
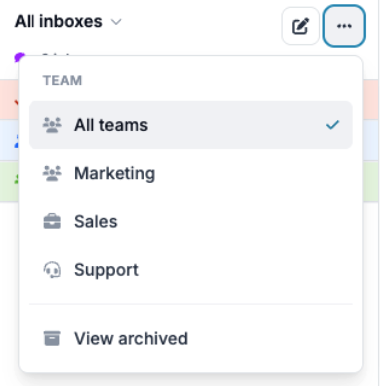
Choose which team to view messages through - or view archived messages.
Archived Messages -

If you are part of the team the archived conversation was assigned to, you can either Unarchive to start speaking with the customer again, or delete the full conversation.